Avoid These 7 Bird Feeder Cleaning Mistakes At All Costs
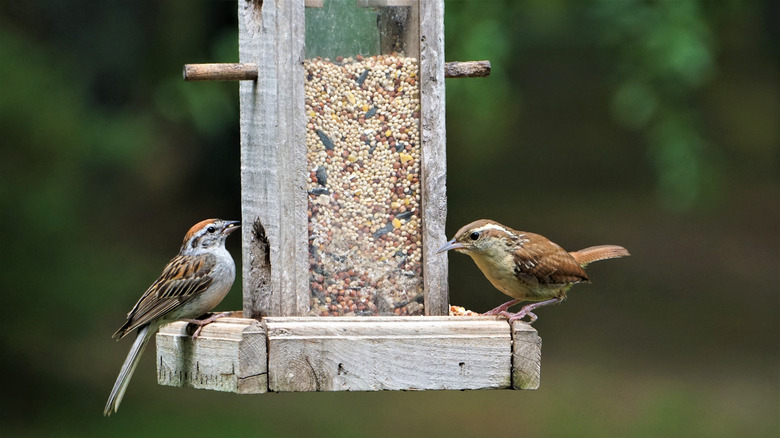
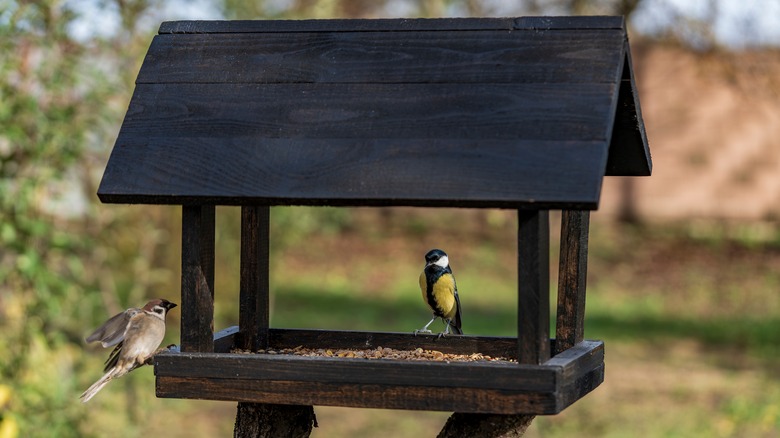
There are plenty of good reasons to have bird feeders in your yard, including ecological benefits and the fact that they're aesthetically pleasing. But the bottom line is that, if you choose to put up a bird feeder, it's probably because you care about the wellbeing of your local bird population. Putting out the right food isn't enough to keep wild birds healthy, though. You may actually put them at risk by not cleaning bird feeders properly.
Birds can leave behind all sorts of pathogens when they stop to eat at your feeders — plus, their droppings. Keeping the feeders clean is critically important for preventing future visitors from contracting and spreading disease to other area birds. It's also about maintaining food quality for the birds who do visit your yard; a dirty feeder may hold seed or nectar that's not safe for consumption. Cleaning the feeder too infrequently, using the wrong products, and neglecting certain parts of the process are all common mistakes that you'll never have to make again. The local robins, sparrows, and hummingbirds will thank you!
Neglecting the nooks and crannies
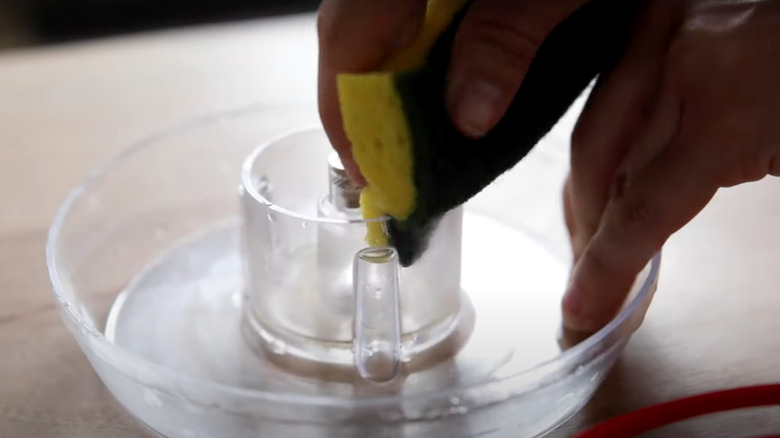
We all love to take cleaning shortcuts where we can. (Why vacuum under the couch when no one's going to see it, for instance?) However, cleaning a bird feeder properly isn't one of those shortcut-friendly tasks. Mold and bacteria can thrive in the nooks and crannies of your bird feeder, especially when the weather is warm and humid. Giving your feeder a quick rinse or dunking the whole thing in soapy water isn't going to effectively clean all the places where harmful stuff can fester. This is especially true for hummingbird feeders, since the liquid nectar can leave sugary residue in every crack and corner.
If your bird feeder comes apart, fully dismantle it every time you clean it. (You can always check the manufacturer instructions if you're not sure about how yours works.) You're also going to want to have a bottle brush, sponges, and/or a spare toothbrush on hand for every cleaning. Even if there's no visible debris to remove, it's important to scrub all surfaces of every piece of the bird feeder whenever you clean it.
Using the wrong cleaners
The stuff you use to clean surfaces in your home isn't necessarily the right stuff to use for cleaning your bird feeders. Steer clear of solvents and commercial cleaning solutions. Instead, reach for the classic old reliable: bleach. It's cheaper than spray cleaners, and it's also just a good way to kill off pathogens that previous bird visitors have left behind. Researchers at Kutztown University confirmed in a 2018 paper that bleach is an effective way to disinfect bird feeders and kill Salmonella!
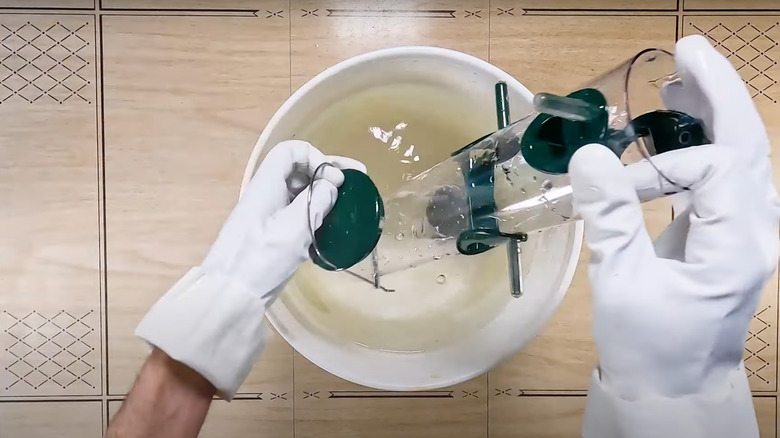
Here's the right way to clean your bird feeder. After emptying out any remaining food and dismantling the feeder, submerge all the pieces in a tub or bucket of hot, soapy water. Use your brush or sponge to give all the components a good scrub. Next, move all the bird feeder parts into a bleach solution. The standard advice, echoed by government agencies and bird protection organizations, is to use a mixture of nine parts water and one part bleach. Make enough of the solution that you can completely submerge the feeder in it, and let everything sit for 10 minutes. (Or, if you prefer to use natural ingredients to clean your bird feeder, use a solution of four parts hot water and one part white vinegar, and let the feeder soak in it for one hour.) After the bleach or vinegar soak, rinse all the pieces well. Make sure to let them air dry completely before reassembling, refilling, and rehanging the bird feeder.
Following the same cleaning schedule year-round
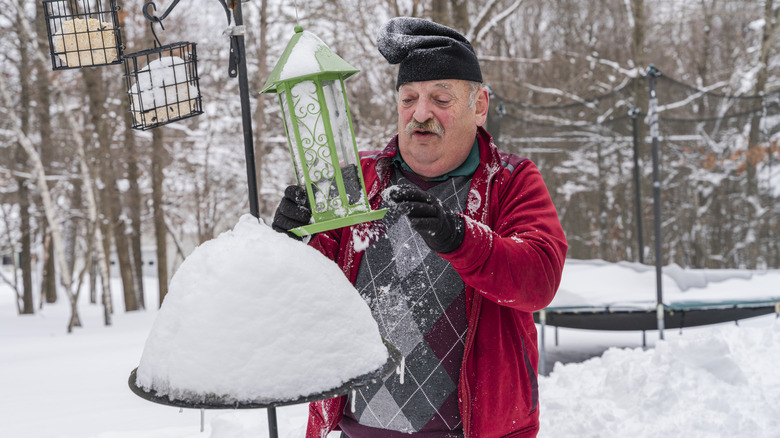
It can he helpful to stick to a strict cleaning schedule for routine tasks like vacuuming and changing your sheets. Those are chores that need to be done at pretty regular intervals all year. A bird feeder is naturally a little different. After all, it is located outdoors and exposed to shifts in temperature and humidity. If you clean it on the exact same schedule year round, you're probably either overdoing it or underdoing it. The former isn't a problem, but cleaning the bird feeder too infrequently can do real harm, especially in periods when the weather is very warm or damp. Those conditions are ideal for mold growth in a bird feeder — not something you want to let happen in your bird food.
So how often should you clean a bird feeder? The general wisdom says to clean seed feeders at least once a month, but ideally once every two weeks in colder weather. Clean them once a week when the weather is warm. Depending on your climate, you'll probably have to make some judgement calls about what constitutes "cold" vs. "warm" weather; when in doubt, clean the feeder more frequently. In stretches of hot, humid weather, clean the feeder and change out the seed twice a week to keep mold at bay. A hummingbird bird feeder may go five to seven days between cleanings in colder weather.
Letting old food sit
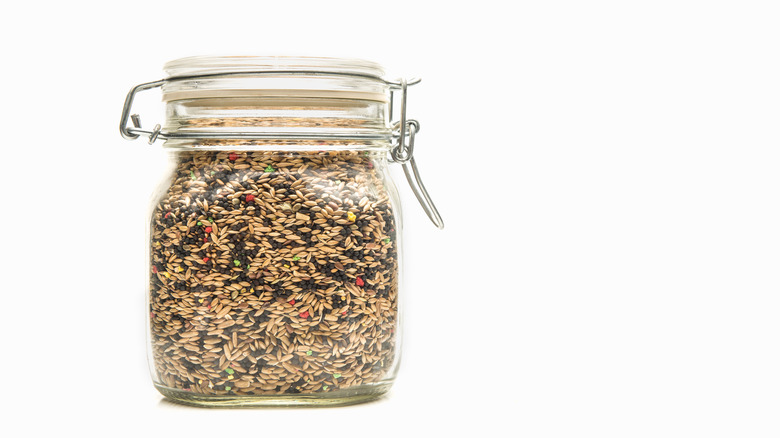
Just because the birds haven't been visiting your feeder lately doesn't mean you can skip cleaning it. Mold can grow fairly quickly on old bits of birdseed, and the nectar in hummingbird feeders can begin to ferment within just a few days during hot and humid weather. You wouldn't want to dine at a buffet of old food, and neither do your neighborhood birds. Ingesting moldy seed or droppings left on a neglected feeder may actually harm them. Consuming fermented nectar can also cause health problems in hummingbirds.
This isn't likely to be a problem during periods when birds are visiting every day and you feel like you're running the most popular avian restaurant in town. But if the weather turns or birds just aren't interested in the food you've put out for whatever reason, don't let the feeder sit full until birds come around again. Clear out the uneaten seed or sugar water, and replace it with fresh food, in accordance with whatever cleaning schedule makes sense for your feeder type and the current weather.
Forgetting to disinfect scoops or storage containers
So your bird feeder is spotless, disinfected, dry, and ready to fill. Great! Using a scoop that's never been washed to scoop birdseed out of a dirty container is going to defeat the purpose of all the work you just put in. Who knows what kind of bacteria you might be transferring into the feeder along with the seed?
Yes, it adds a little bit more work to your life, but keeping birdseed containers and scoops clean is an important part of keeping your local birds happy and healthy. There's no hard-and-fast rule on how often containers and scoops should be cleaned. It's definitely a good idea to wash them with soap and water every time you refill the container with fresh birdseed, but you could also wash the scoop after every use. Always empty the container of any remaining old seed before adding new seed, to ensure you're only serving birds fresh food. Containers and scoops should also be disinfected in a bleach or vinegar solution after they've had contact with any moldy or rancid food. Always discard any bird food that smells musty or gets wet. Make sure scoops and containers are completely dry before letting them touch any birdseed.
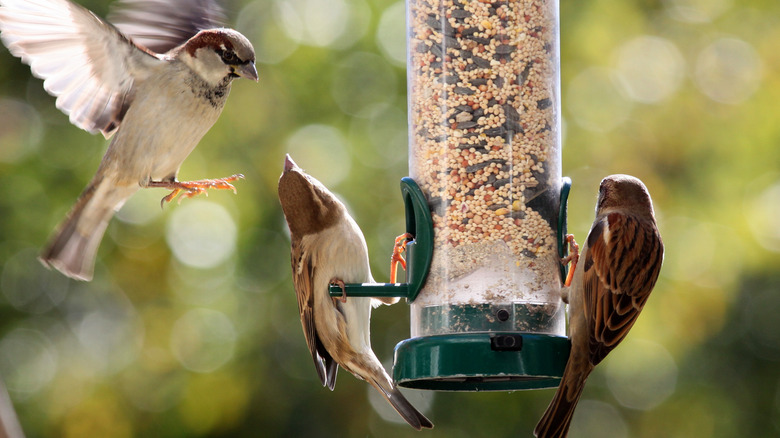
Ignoring the area under the feeder
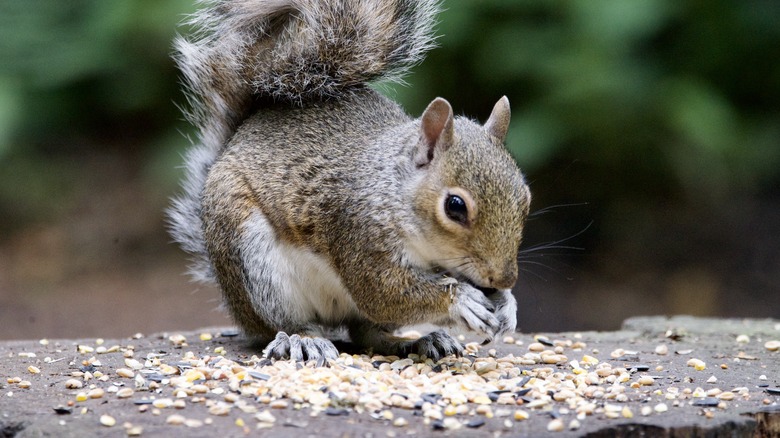
Have you noticed your house seems to a popular hangout for all the neighborhood squirrels? It's probably not just because your yard is so beautifully landscaped. Squirrels and rodents love seed feeders just as much as the birds do because of all the tasty food that gets knocked to the ground. Letting all that fallen seed sit is basically like setting out a backyard picnic for critters. Plus, seed may start to turn bad as it lays on the ground. You don't want neighborhood pets or any wild animals getting sick from eating rancid or moldy food.
If you have a seed or suet feeder, set it up in an area that's easy to access so that you can rake or sweep up fallen seed whenever you notice it — at least once weekly. If that becomes a hassle, or you're bothered by how many critters are hanging out by your feeder, you have a few options. First, consider upgrading your feeder. You can add a tray under a pole-mounted bird feeder (like this feeder tray from Wild Birds Unlimited). Or, buy a new feeder that's designed to limit mess (like this tidy cylinder feeder, also from Wild Birds Unlimited). Buying no-waste birdseed may also help. These blends contain seeds that have already been shelled, so birds don't have to discard anything under the feeder. And there's always the option to switch to a hummingbird feeder. It requires more frequent cleaning but results in less mess overall.
Forgetting your own safety precautions
While you're busy thinking about the welfare of the local bird population, don't neglect your own health and safety. Sure, cleaning a bird feeder seems like a pretty low-risk activity... until you remember that it involves bleach, bird droppings, and potentially some pathogens that sick birds have transmitted. That said, it's highly unlikely that you're actually going to get sick from handling and cleaning an outdoor bird feeder. (An infectious disease called psittacosis can sicken people who handle bird droppings, but it mostly affects birds in the parrot family rather than the wild birds that show up at most of our feeders.) But you never know what illnesses birds might be carrying into your yard, so there's no reason to take safety risks.
What can you do? Most importantly, always wear gloves throughout the cleaning process. They'll protect you from germs, bleach, and the general ick factor of touching a dirty bird feeder with your bare hands. Make sure to wash your hands after you take the gloves off. For maximum protection, wear a mask when you rake up fallen food from under a feeder or clean out moldy bird seed, and protect yourself from inhaling fungal spores that might get kicked up when you start moving things around.