TikTok Repurposes An Old-School Locker Into Unique Wardrobe Storage
We may receive a commission on purchases made from links.
If you want wardrobe storage that simply oozes retro and funky, you may struggle to find something that really hits the nail on the head. However, a repurposing DIY by @homewithhelenandco could help you to achieve exactly that. By upgrading an old-school locker with shelving units, you'll have a unique wardrobe unit that streamlines perfectly with the rest of your quirky interior. This DIY project shouldn't be too costly, so it's ideal if you don't have a large budget. It's also a fun DIY if you enjoy taking on new projects, and can be a great storage solution for a small space.
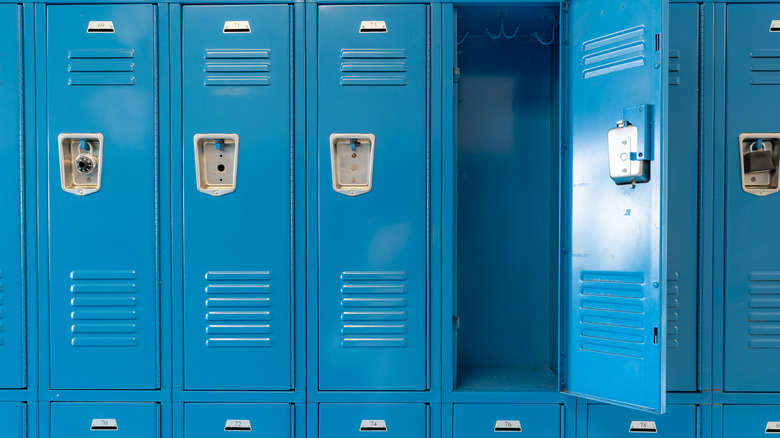
First, you'll need a tape measure, some wooden slabs to create your shelves, a jigsaw saw, and an old locker, which you may already have, or you can grab a secondhand on sites such as eBay. You may also be able to find some at car boot sales. Depending on how you want to install your locker, you'll need a drill and screws, then either of the following: washers, or some shelf clips, shelf standards, and support brackets. You can buy these off Amazon for $10.98. In addition, buy some wood stain and polyethylene coating. The simplest route here is to use a drill, screws, and washers, but alternatively, the standards allow you to more easily adjust your shelves if you wish at a later date.
Make the shelf sections
You can buy unfinished wood from Lowe's starting at $12.98 for a 2-foot piece, and 12-inch shelf standards from Lowe's starting at $5.98. First, you'll want to start by adding your metal shelf brackets, which you can secure to the back corners of your locker using your drill and screws, utilizing a level if you need. Once that's done, you can note down the dimensions for your shelves by measuring the inside of your locker and cutting your wooden slab with your saw. When you do this, trim it a millimeter or two smaller so it can fit inside easily. After this, give each shelf a coat of wood stain (optional) and then polyethylene coating, allowing enough time to dry.
Now you have all your shelves prepped, you can get to work installing them. Start by securing your supporting brackets in place on your standards wherever you want your shelves to go, then slip them into place. If you're struggling, you may want to try putting them in at an angle. Alternatively, you can take some washers and screws and simply connect your shelves in place using an electric drill from the outside. Both of these methods work, so it depends on how you want to do it. All that's left to do is drag it wherever you want it to go, whether a bedroom or office space and use it to organize your clothes or anything else you may want to keep in there.
Customizing your locker wardrobe
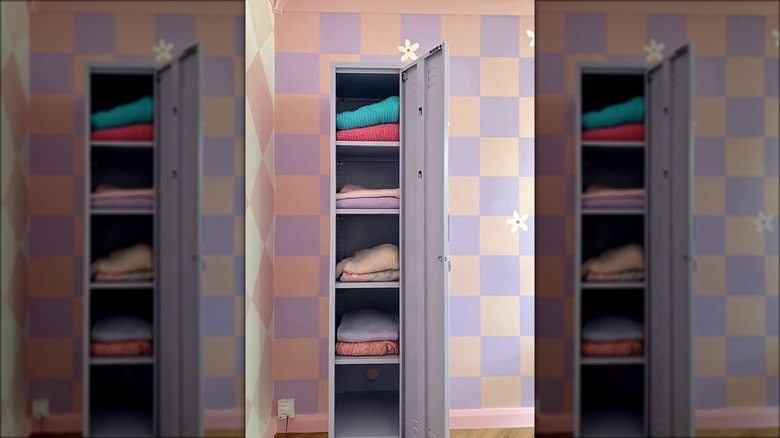
If your locker looks a bit worse for wear, you may want to customize it. One way you can do this is by giving them a fresh coat of paint, which you can do by sanding and then applying some Rust-Oleum paint and primer. It's available in white on Amazon for $6.99. To achieve the retro look, you may want to try a pop of pink using the same product but in "Gloss Berry Pink," which you can buy again on Amazon for $6.99 alongside a wide range of other colors. Going bold and bright will help you to achieve that quirky feel if that's what you're looking for. Likewise, you could always add stick-on wallpaper, such as this floral design off Amazon for $16.99, or this bright pink flamingo style for $34.99.
Feel free to add your own lighting or additional shelves, too. You could even install hooks so you can hang things in there. Whatever you decide, there are many ways to make it work for you. However, one caveat is that one single locker alone won't be able to provide much storage space due to its size, so if you're planning to store a lot of clothes in there, you may want to think twice. Instead, this would be much better suited as additional space alongside your main wardrobe. Additionally, you could use this in a playroom or maximize storage in your office space.