TikTok's Tips For Perfect Pocket Holes During Any DIY Wood Project
When you are doing your own woodworking projects, you'll learn quite a few tips and tricks to make the process go smoother and create a final project that looks amazing. One of the most valuable tips you can learn is how to make pocket holes using a jig. Whether you are looking to build an affordable cabinet door, create your own furniture, or build a shadow box for your treasured keepsakes, pocket holes allow you to hide the screws, delivering a finished look. This technique gives you a secure joint in the piece of furniture.
The pocket hole is an angled pilot hole that you use a tool called a jig to create. Using an angle accomplishes a few things. It allows you to tightly secure the two pieces together and hides the head of the screw. Although the pocket screws should hold the joint together tightly, many people glue the two pieces together and clamp them before adding the pocket screws for an extra secure connection.
By using a jig, you can easily create the perfect hole depth at the desired angle. The jig guides the drill bit for the pilot hole before guiding the screw into place. This means all you have to worry about is setting up the jig and using it correctly while maintaining the proper spacing to create perfect pocket holes. If you need help with this, TikTok user @kregtool has some tips.
How to space the holes that you create with the pocket hole jig

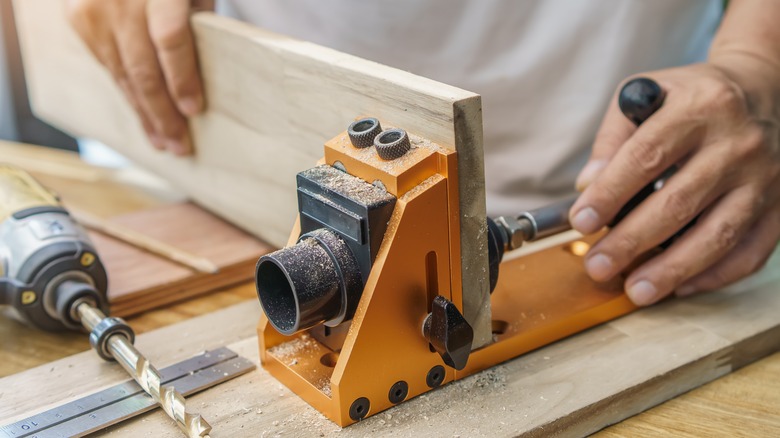
The Kreg Jig 320 is one of the most popular tools for beginners for this type of work (about $40 at Home Depot). It consists of hard plastic and metal in the screw guides, allowing you to use it over and over for many projects. Kreg also provides a lifetime warranty with the tool, so you are getting good value with this purchase.
Before you start drilling the pilot holes with the jig, it's important to consider the distance across which you want to spread the pocket screws, while also adding the correct number of them. For example, you need to make at least two pocket holes, even if you are working on a very narrow piece of wood, because using only one pocket screw would create a pivot for the joint to move, rather than securing the joint.
Determining the proper distance between the pocket holes depends on the width of the wood. Ideally, you'll place the pocket holes about 1 inch from either edge of the board on which you're working, although you can go as close as 5/8 of an inch. Then spread the other holes across the distance between the two pilot holes, placing another screw every 6 to 8 inches, as long as the board is wide enough, according to the Kreg Tool TikTok video. The video says that the distance between pocket holes does not have to be uniform.
How to drive the screws properly using your pocket jig
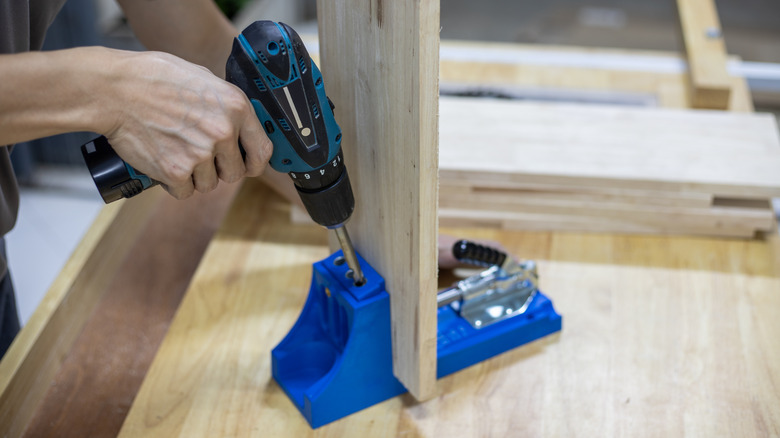
To use the jig, start by clamping it to the boards where you want to drill the pilot pocket hole. If you want to glue and clamp the two boards, drill the pocket pilot hole in the desired spots on both boards. Then glue them together. You need to know the thickness of the boards into which you're creating the pocket holes, so you can set the height of the jig to correctly make the pocket hole at the proper depth. The manufacturer of your jig should have a chart (like Kreg's chart) to help you select the proper length of the pocket screw, based on the thickness of the wood.
You then can use the jig's guide holes to drill the pilot holes. Use the drill bit slowly to avoid splitting the wood. When adding the screw, use slow, short bursts to avoid wood splits. Always use a pocket screw, rather than any regular wood screw you may have on hand, for the same reason. The pocket screw has a flat washer head that will fit perfectly into the hole without breaking through and splitting the wood. Additionally, you should use a fine-threaded screw for hardwood, like oak and maple, and a coarse-threaded screw for softwoods, like pine and plywood.