Create An Amazing DIY Backyard Cooler By Reusing An Old Mini Fridge
We may receive a commission on purchases made from links.
A few must-haves ensure the success of a backyard BBQ: Hot coals, loads of yummy food, good friends, and, of course, ice-cold drinks. Sure, you can use a warm bottle of beer to clean your grill once the party is done, but neither you nor your guests want to actually drink warm beverages. If you have an old mini or bar fridge that recently died, resist the urge to take it to the dump and transform it into a cooler instead. Remove the appliance's innards, build a wooden frame, and pop the empty fridge inside.
A refrigerator cools things using coolant and electricity. This DIY backyard cooler is entirely off-grid, using the heavily insulated walls of the appliance to keep the ice you put inside it from melting. Just beware that some old fridges, especially those pre-1980s, used Freon as a coolant. You should avoid them since this chemical requires expert removal. Otherwise, the simplest way to craft this new-to-you backyard cooler is to remove all the shelves and components and tip the fridge on its side. Fill it with ice, and voilà! You have your cooler.
However, it's worth keeping in mind that this option, while extremely easy to do, isn't exactly long-lasting. A regular old fridge in the yard — even under shelter — without legs or proper weatherproofing is a recipe for rapid deterioration. Plus, legs save your lower back since you don't have to bend so far to grab a drink. Regardless, if you're curious, it's time to get creative.
Brainstorm your design

You might be upcycling an old fridge, but that doesn't mean the design of your resulting cooler frame has to be as dull as the whiteware it surrounds. The frame is just a box; the walls can be made of anything sturdy. Ideally, aim for a frame that matches your existing backyard decor, whether that's retro cool, outdated old-school, or something more contemporary. Specifically, we're talking about affixing corrugated sheet iron siding for that modern farmhouse feel, adding chunky wheels to the legs so the cooler's portable, or even painting the good ol' American flag on the front — perfect for your annual 4th of July get-together.
You can upcycle any timber you have lying around; an old fence, pallets, leftover flooring planks, an old whisky barrel or soda case, vintage wooden skis — if it's solid wood, you're good! Just make sure you weatherproof it with outdoor paint or wood stain first. Paint the inside of the lid with chalkboard paint, and you've got yourself a menu board. Additionally, melting ice will turn to water inside the cooler, so add piping: A short length of PVC tubing, an elbow, a rubber hose, and ring clamps.
You could even add a decorative tap if you want to get really fancy. Go industrial chic with a stainless steel lever-handled faucet, $10.18 from Walmart, or channel your inner Victorian garden party hostess with this brass rabbit-topped one, $39.95 on Amazon. Oh, and don't forget to stick a permanent beer bottle opener on the side; it's a backyard hang must-have!
It's time to get building
Okay, so you've narrowed down your dream outdoor cooler design. Now, get crafting! Before starting this project, don a pair of goggles, closed shoes, and long clothing to protect yourself. Then, gather your tools. You'll need a broad selection of screws and nails, a hammer, an electric drill, or a nail gun, a hand or electric saw to cut the board to shape, a tube of white, waterproof caulk or silicon sealer, and a caulking gun. Measure all sides of the fridge or freezer to get your dimensions. Add a few inches to all measurements for a not-too-snug frame fit. The lengths you cut the wood to will depend on the dimensions of the whiteware and your wood. You'll need enough boards to frame the four sides and the base at a minimum.
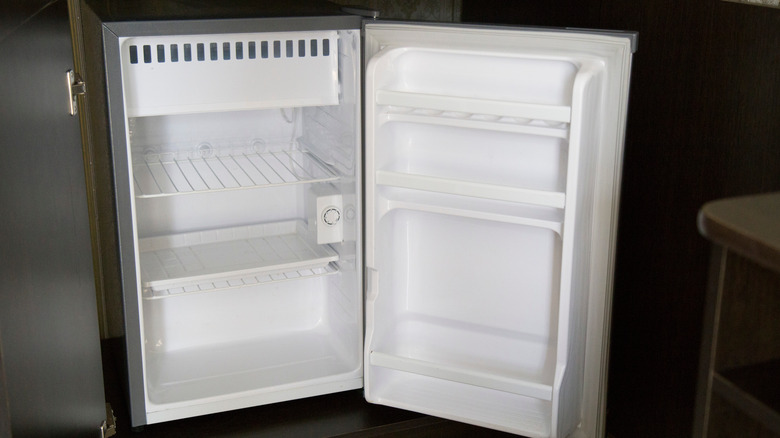
Prepare the fridge by removing all the shelves and compartments (like the butter conditioner in older models). Remove the compressor and any exposed coils and wires. Plug any holes inside the appliance — say, where a shelf once slotted into — with the caulk or sealer. Assemble the frame to your preferences and measurements; drill a hole and attach the plumbing pipe and tap if you're using one; and finally do a fit check. If everything slips into place nicely, all that's left is to add whatever embellishments you chose during the planning stage to truly make it your own. And there you have it, a DIY mini-fridge that's perfect for any space!