Use Both A Brush And A Roller To Paint Trim In No Time
Coating large walls with large strokes of paint is one thing, but focusing on small details like the trim work can't be done as quickly. With a smaller surface area to work with and the risk of drips or smudging bordering walls and floors, it's enough to make even the most comfortable DIYers break out in a sweat. Although painting trim might feel like an activity that can't go any faster, there is a way to utilize multiple tools to make it happen more quickly.
Once you've settled on a trim painting technique that'll make the biggest difference in your room, it's time to action it. This method of quicker trim painting requires leaning on both a roller and a brush to cover more ground in less time. Essentially, a roller gives ample coverage, whereas the brush comes in to finish the details. Learn more about using these paint supplies in tandem for an efficient process and a tidy final look.
How to use a paint roller and brush to cover trim
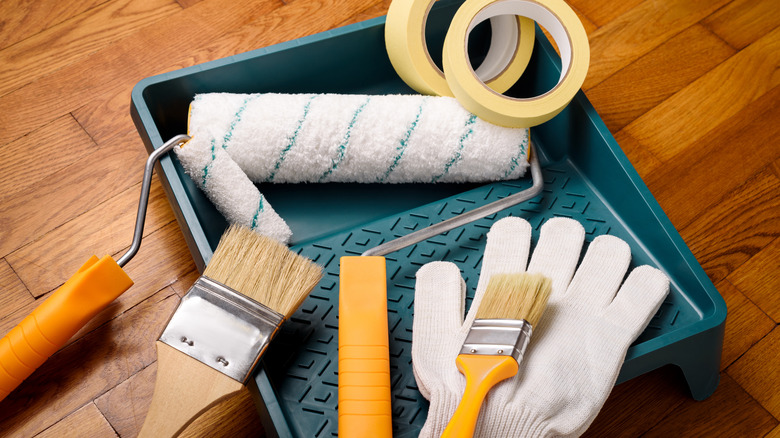
Using more than one tool might seem like it will take more time, but this isn't the case for painting trim with a roller and paintbrush. To start, make sure that you have both tools on hand. Paint rollers might conjure images of foot-long rolling heads, but there are tiny rollers that fit the purpose. The best paintbrush for trim, according to Joanna Gaines, is a 2.5-inch angled sash brush. Each will play an important role in getting the trim painted.
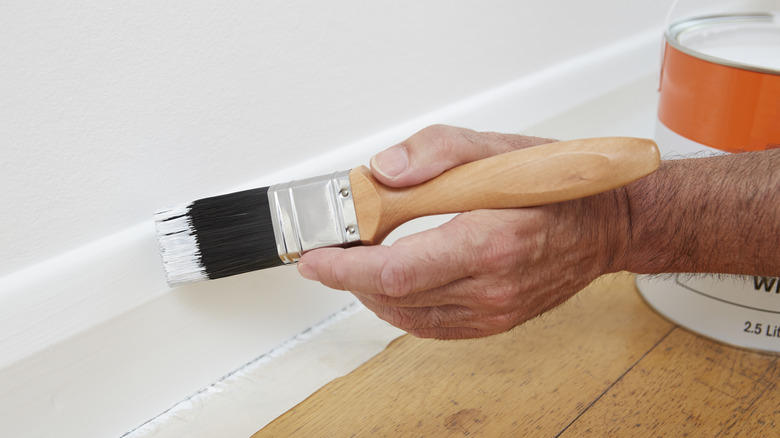
Start by using a roller. This is the best way to quickly cover more surface area, and it's faster than a paintbrush, thanks to its continuous roll. Once the main portion of the trim is covered in paint, you can go in with a paintbrush to touch up corners, patches missing paint, and any small details that were missed by the roller. By alternating between the two tools, you aren't relying on a brush for all the heavy lifting (which takes much longer), and you're not leaning on a roller to get every nook and cranny.
Tips for using paint rollers and brushes on trim

If you're opting to use a roller and paintbrush to cover trim, baseboards, and other intricate surfaces, you'll want to pay attention to some of the best tips for painting trim, which will minimize mistakes and frustration. The most important tip is to purchase trim-sized paintbrushes and rollers. The best roller for your painting projects depends on the surface area, so you'll want something with a 4-inch length or smaller when it comes to lacquering up the trim. These compact rollers can quickly cover unpainted wood without painting the wall or floor as it glides.
Speaking of preventing paint from coating places other than the trim, you'll want to protect surrounding areas. Use painter's tape and drop cloths to cordon off parts of the wall that meet the trim and cover floors. This is particularly helpful when you're sliding the roller across or if you pick up a globule of paint that is too large on your brush. To make sure the trim handles the paint well, you'll want to prep and prime the surface, too, before starting. When you've properly sanded and primed, there won't be edges for your tools to get caught, the paint will go on smoother, and the finish will look cleaner. With these tips in mind and switching between a paintbrush and roller, your trim will be beautifully painted in no time at all.