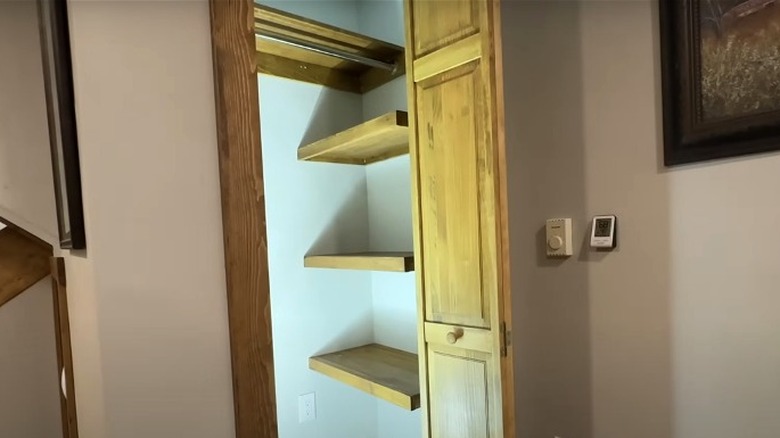
DIY Closet Shelves To Make The Most Of Your Storage Space
Storage space is key in any home, especially when sharing it with family. Many houses come with just a tiny closet tucked away in a corner or an awkward niche or nook for storing everything. This limited area can be a challenge to organize and manage effectively. But here's a tip: installing shelves can help you make the most out of your small closet space. They let you utilize your closet's height, so you don't have to pile things on top of each other. This keeps your space tidy and prevents damage to your belongings, making it easier to find what you need when you need it.
Ideally, building a closet from scratch is the way to go, especially since many closets are oddly shaped, making it challenging to find pre-fabricated options that fit well. Hiring a professional to build custom shelving can be pricy, costing about $70 per hour plus the materials. If you're up for a DIY project, you could save quite a bit, especially if you have some leftover wood from previous projects. If you need to buy new materials, a sheet or two of wood for the shelves and other materials might set you back around $250, depending on the size of your space. Even so, this approach offers substantial savings compared to the expense of getting professionally built custom shelves.
Considerations before building your closet shelves
Here's what you'll need for this DIY project: a level, a pencil for marking the placement of the shelves, a stud finder to find wall studs without making holes, a miter or circular saw for cutting the wood, a Brad nailer, and some wood finish. Before you start the actual building, take the time to measure your space and plan out your shelves based on what you'll be storing. For example, you might want deeper shelves for big bins, rod hangers for hanging items, or even small cubbies for little knick-knacks. Also, don't forget to check for potential obstacles like baseboards, outlets, or switches. You can design around them or, if feasible, move them to clear the space.
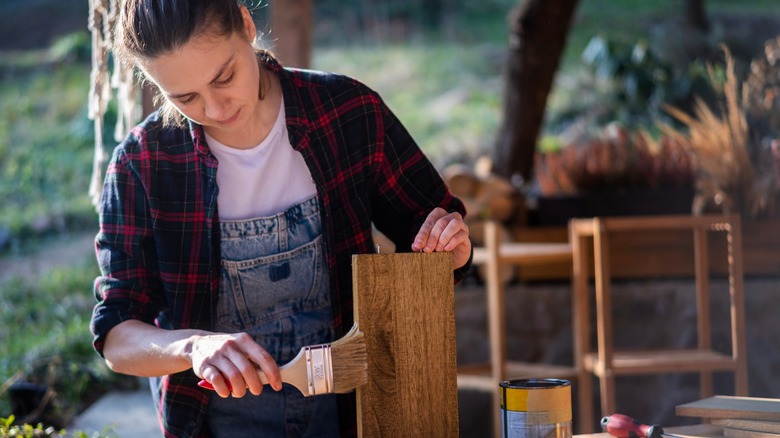
Additionally, consider the door opening and the closet's header, especially if the closet is shallow. Installing shelves that are too deep at the front can make it challenging to place or retrieve bulky items on higher shelves, so shallower shelves might be a better option. Next, consider your materials for the shelves. You can purchase plywood or MDF sheets and cut them to size for the shelves, supports, and front trims. Alternatively, copy YouTuber Sunny Side Design, who opted for ¾-inch by 15 ¾-inch by 8-foot melamine shelves. The advantage of using melamine is that it's ready to go — no need for sanding, priming, painting, or adding front trims.
How to DIY closet shelves
Once your materials are ready, it's time to build your shelves. Keep your sketch handy as a reference, and mark the wall where you'll place the shelves. Use a stud finder to locate the studs — this is where you'll securely attach the shelves and shelf supports for a more stable structure. If you're aiming for extra sturdiness or if there aren't enough studs to use for support, consider installing vertical support boards; these will provide additional anchoring points for your shelf supports.
Start by cutting your shelf supports from scrap trims or directly from your shelf boards. Make sure they are perfectly level before securely drilling them into the wall studs and any vertical supports you have installed. Fill any holes left by your Brad nailer with putty, and you might consider painting the supports to match your wall for a cleaner look. Next, size your shelves and cut them using a circular or miter saw. If you're working with plywood, sand them, apply a coat of paint, and finish with a layer of polyurethane for protection before installation. Attach the shelves to the supports with nails. For corners, add extra support boards at the seams where two shelves meet for enhanced stability. Complete the installation by caulking the seams where vertical supports meet the shelves for a polished finish.