How To Turn Pool Noodles Into A Unique Decorative Column For Any Living Space
We may receive a commission on purchases made from links.
If your home or apartment building was built in the modern design trend, there's a good chance it doesn't have too many architectural flourishes. Modernism, as a movement, incorporates clean lines and a simple, minimalist aesthetic. While elegant and sophisticated in appearance, this style has the potential to also make a room seem too large or empty, but you can fix this problem by bringing in the architectural details yourself with décor. Granted, it might be far beyond your abilities or budget to install ceiling beams or a large stone fireplace facade, but decorative columns are also going to create some architectural interest in your rooms, and those can be made with pool noodles in an easy DIY.
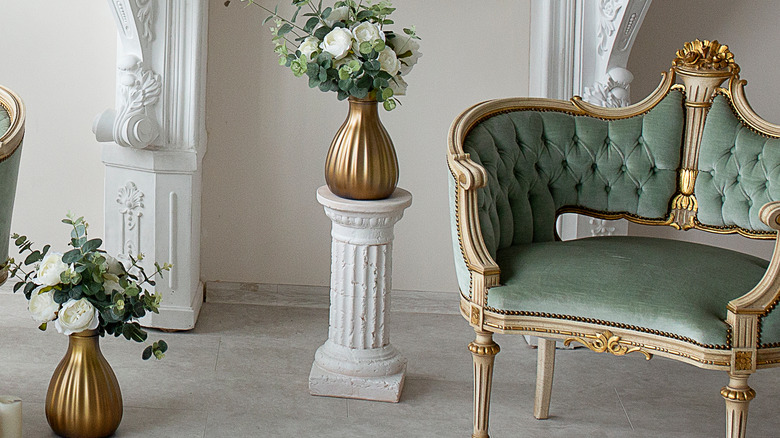
Advice for incorporating columns into your interior design usually deals with structural columns that can't be moved, but decorative columns can be used much the same way. Decorative columns can work as stands for plants or other display items. They're also extremely effective as artistic focal points or framing pieces for different areas in the home, and if you need a photographic backdrop, you could do a lot worse. But rather than paying exorbitantly for one (or purchasing one online that turns out to be much chintzier than expected), make one yourself so you get the exact size, style, and sturdiness you want.
What you'll need
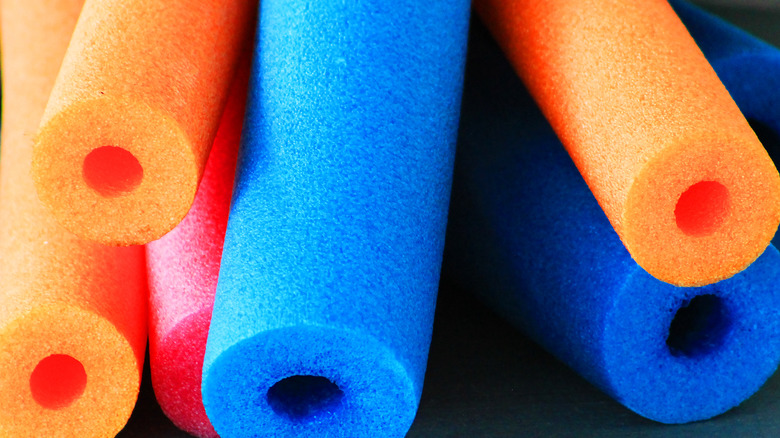
The first step to any project is to gather your supplies. For this DIY, you'll use a Quikrete Quik-Tube building form, available at both The Home Depot and Lowe's for around $20. This will form the basic structure of your column. You'll also need about six pool noodles; but, since they're usually available at dollar stores, buying a couple of spares makes sense to account for any errors. The tube is 48 inches tall, but the noodles don't need to be quite that long because there's going to be additional decoration at the bottom. They do, however, need to be all the same length.
For the construction, you're going to want DAP Weldwood Contact Cement (available at Amazon for $15.50/pint), DAP Alex Fast Dry Latex Caulk Plus Silicone (available at The Home Depot for $10.56/2pk), and aerosol cans of orange peel wall texture, primer, and "stone" effect spray paint. You'll also use a utility knife or other smooth cutting tool, strong tape (like duct or washi), a paintbrush for applying contact cement, a clean cloth, and two sturdy boards to serve as the column base and top. These can be particle board, repurposed laminate shelving, or heavy-duty construction-grade cardboard similar in strength to the tube, as long as they are smooth, square, and larger than the diameter of the tube itself. Once these are all acquired, you're ready to start assembling.
Building your column
Lay out your pool noodles and cut them in half along their length, then paint the inside edges with contact cement. This dries pretty quickly, so start with just one at a time. You want it to create a subtle spiral, and the easiest way to do this is to follow the Quik-Tube logo design, which itself winds around the structure. Set that initial noodle half along the line created by the logo, and make sure each subsequent noodle half abuts right up next to the previous one, with no gaps in between.
Next, take three lengths of whole noodles and fashion them into rings with an interior diameter equal to the tube's 12 inches, cutting them to size and securing each circle's ends with washi or duct tape. Trace one of the rings onto the insides of both the top and bottom boards, then brush contact cement around the bottom of the tube and slide two rings onto it. Brush more contact cement on both the bottom of the column ring and the inside of the ring traced on the board, then press them together. Use the caulk in the gaps above and below the noodle ring and smooth it in with your finger or a cloth. For added stability at this point, you may want to drop a sandbag into the center of the tube, then repeat the process with the final ring and the top board to cap off and close the column.
Finishing touches

Once your structure is set, you can start the real transformation. Use the orange peel wall texture spray (Homax has a 20-ounce can at Lowe's for $21.98) to give the column a more stone-like, roughened feel. After you've covered it with the spray, wipe it down with a clean cloth to spread the texture over the entire surface, ensuring it no longer feels like pool noodles to the touch. This process will also randomize which parts are smoother and which parts are rougher, to mimic the effect of natural stone.
Allow the texture to dry, then use an aerosol primer intended for surfaces like plastic, styrofoam, and laminate. Krylon's COLORmaxx is a good option, and it can be purchased at Amazon for $11.35. If your noodles are a bright neon color, you might want to use at least two coats to ensure this is completely disguised. When this is completed and dried, you can finally move on to the stone-effect spray paint. Rust-Oleum's Stone Creations was used in the YouTube tutorial, and a 12-ounce can is available on Amazon for $16.96. Use smooth motions and slowly cover the column from top to bottom with at least 2-3 coats of paint, allowing each to fully dry in between. Place it between two windows, for example, with one of your favorite flowering plants on top and guests will never know you made it yourself.